
Plant care can be this easy
Once installed in LECHUZA, the plants provide themselves individually with exactly the amount of moisture and nutrients they need for optimal growth. Elaborate care tips no longer play a role and there is more time to enjoy your own green oasis.
We will show you how to place your plants in LECHUZA planters correctly and without much effort.
How do I insert my plant
into the LECHUZA planter?

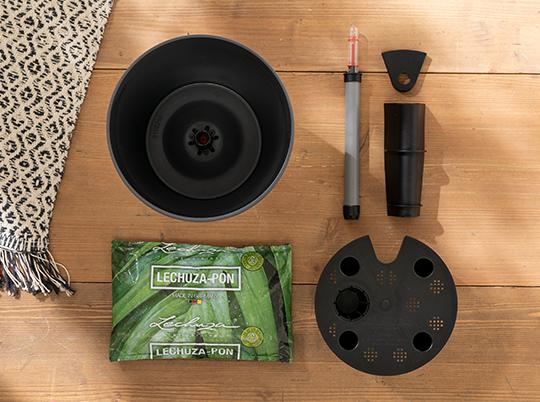
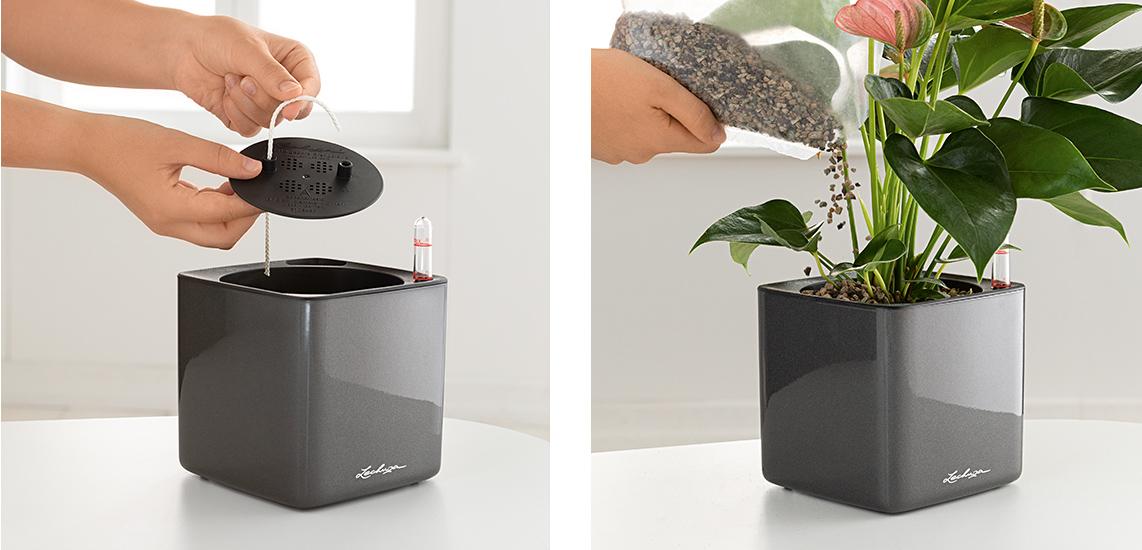
Each LECHUZA planter is available as an AIO set (both in the webshop and in stores). It consists - depending on the model - of the planter, the planter liner and the original LECHUZA irrigation system (including PON for the drainage layer). Assemble the planter according to the instructions.
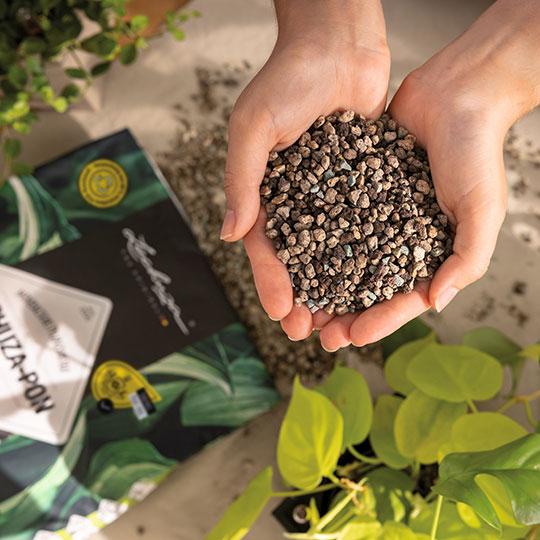
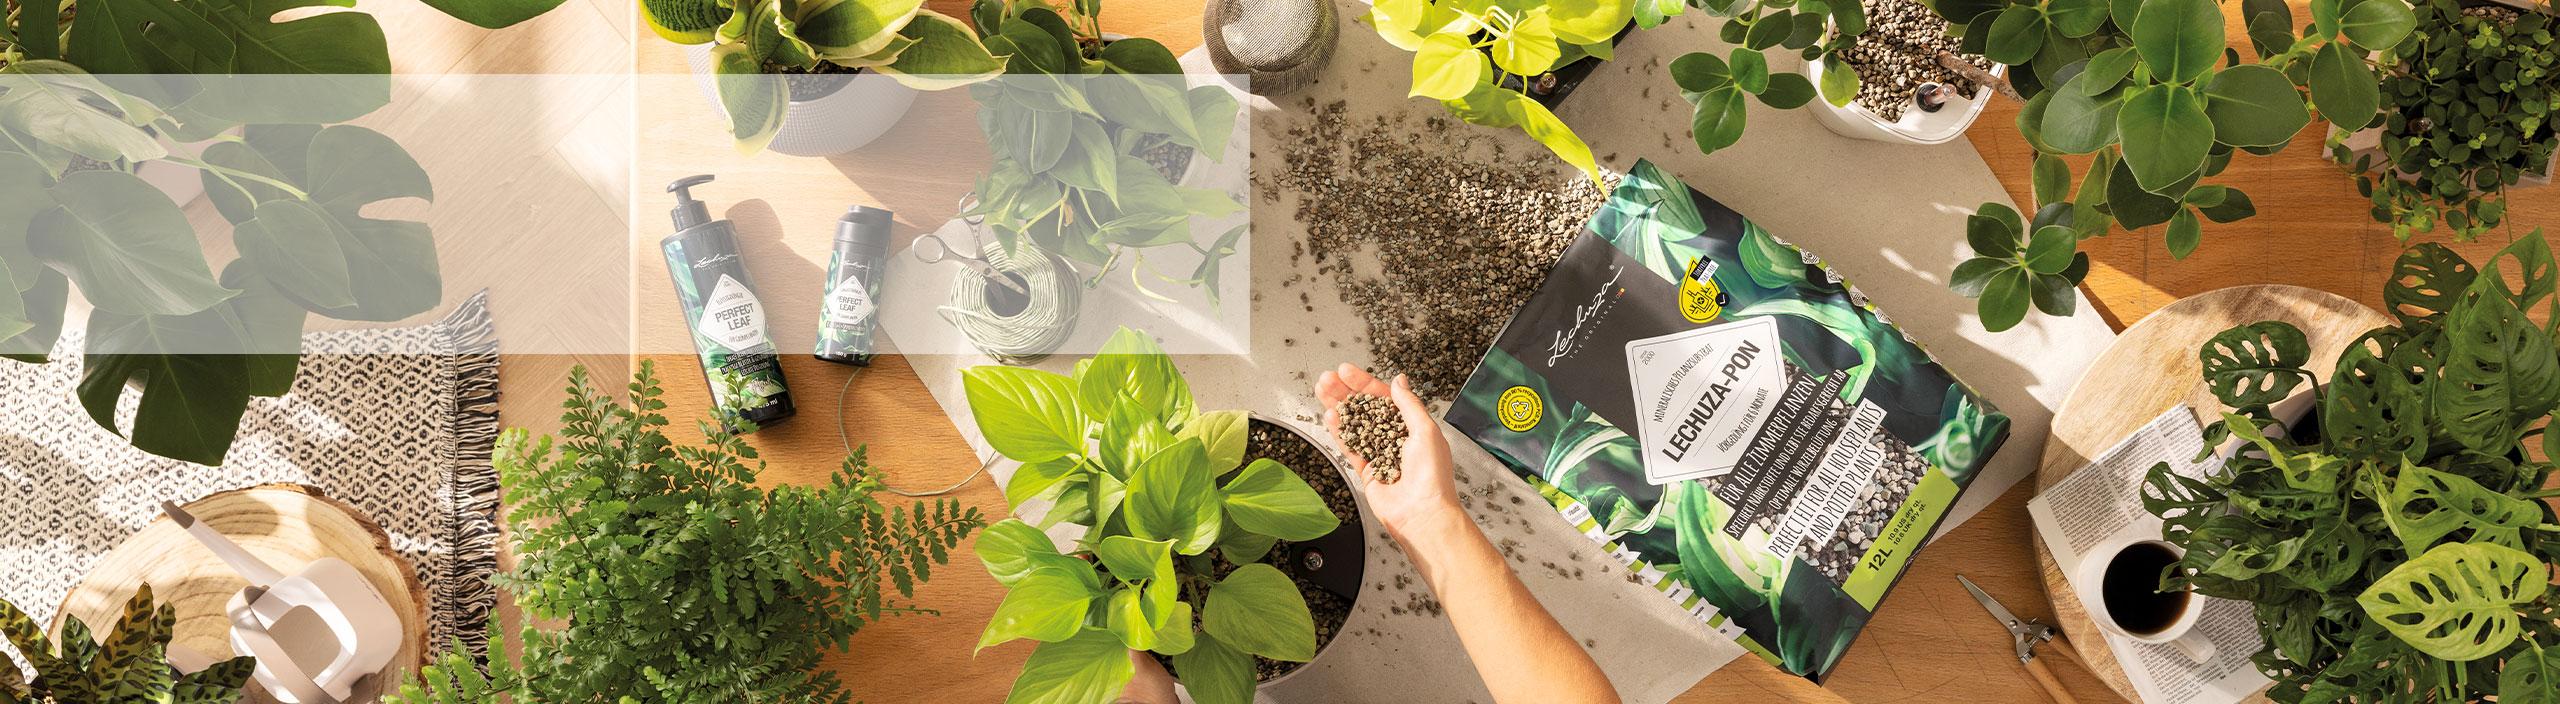
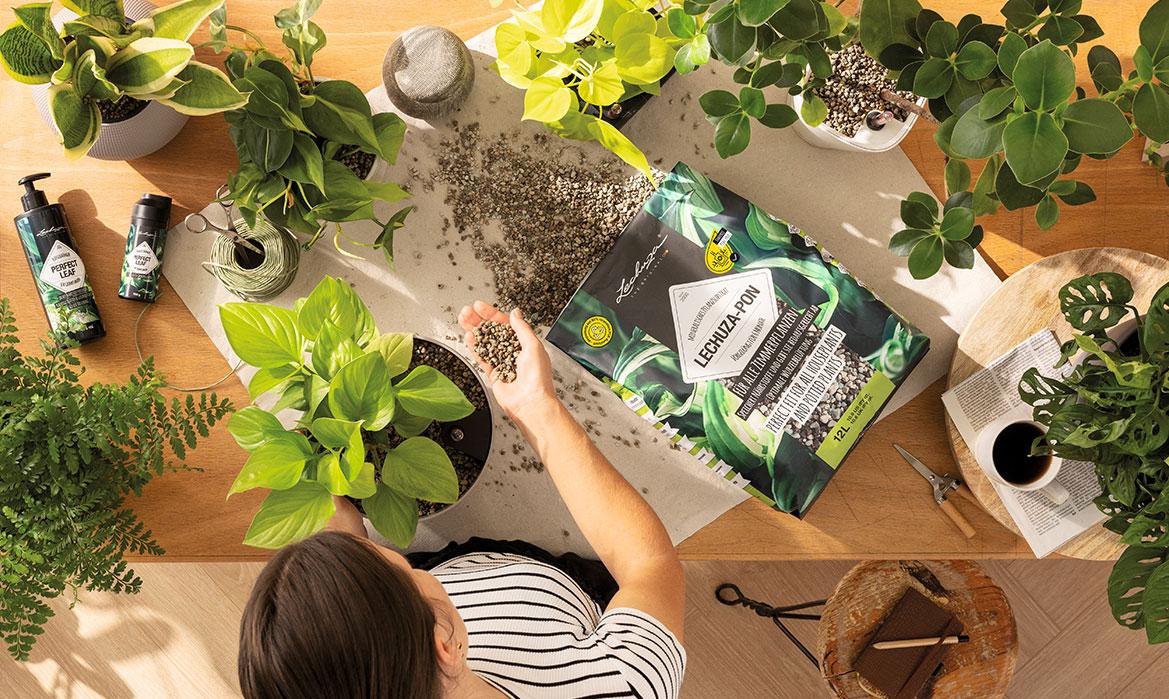
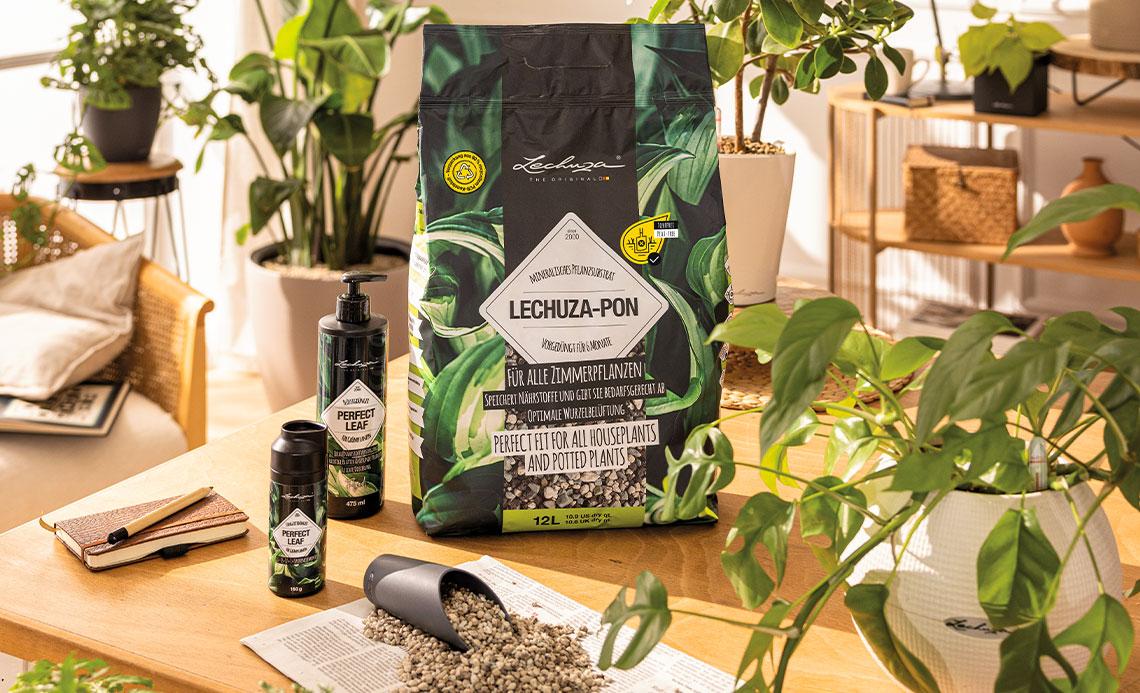
Keep LECHUZA-PON, other substrates from LECHUZA or plant soil on hand. For the small planters, the amount of PON provided is sufficient for a complete planting.
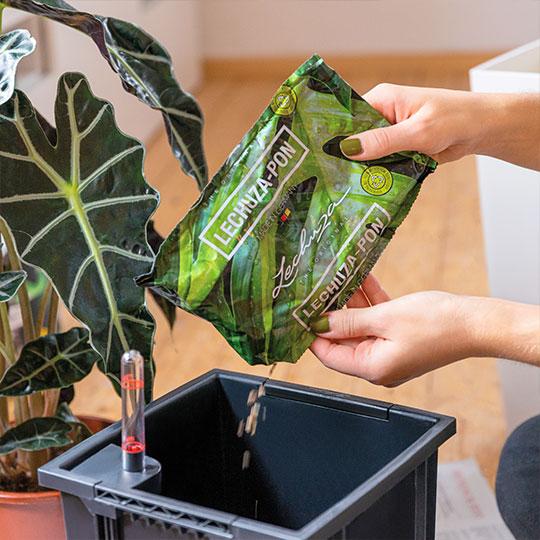
Add the LECHUZA-PON planting substrate as a drainage layer on the separator in the planter. This is important so that the water can be transported from the reservoir to the plant. Then simply add some plant soil or additional LECHUZA-PON substrate on top.
Place your plant in the planter as usual. Do not completely remove the roots from the soil! Finally, fill the planter with PON or soil.
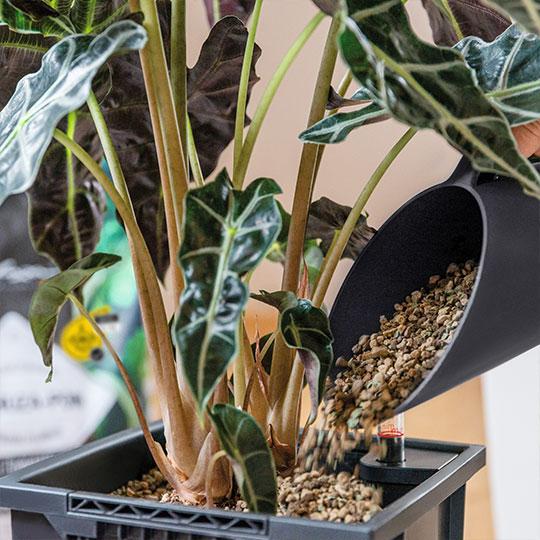
Easy filling thanks to the PON scoop
With the PON scoop, you can easily fill your planters with the LECHUZA-PON planting substrate. Whether you want to lay a drainage layer with LECHUZA-PON, refill your planters or repot your plants, thanks to the large beveled opening, a quick and clean filling is possible.
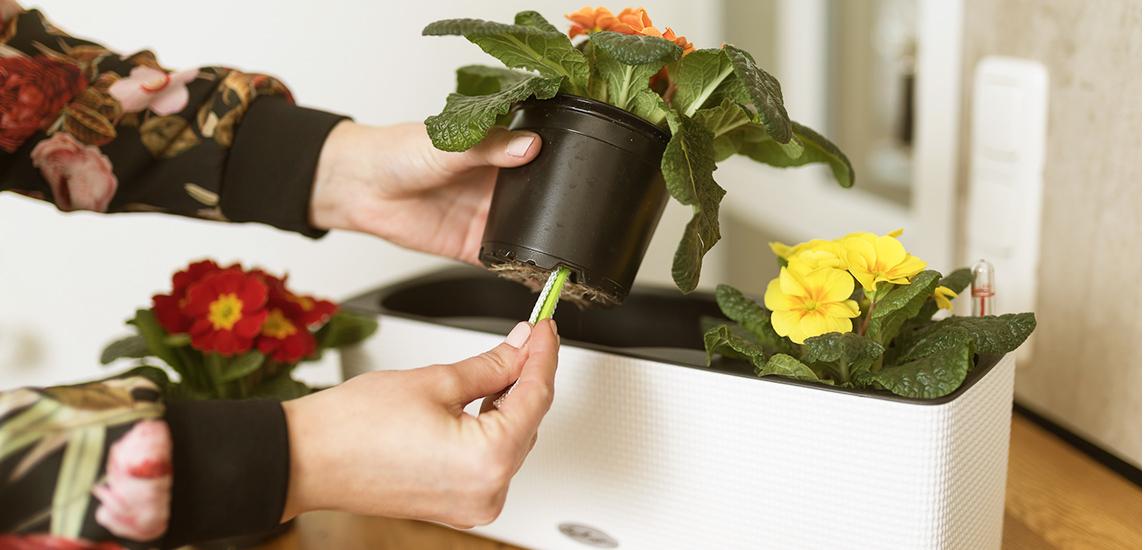
Buy - "stick" - ready!
The simple LECHUZA wick watering system
Thanks to the quick and easy handling, you can transplant your flowers and herbs as you please - and without repotting! Simply insert the watering stick into the growpot of the plant and place it in your new planter.
The practical planting plate offers all LECHUZA lovers the possibility to convert their already existing planters with LECHUZA wick system into planters with classic irrigation system.
And this is how it works: Place the planting plate in your CUBE Color 14, for example, fill the planter with planting substrate as usual and insert your plant. Thanks to the practical planting plate, you can now also benefit from the classic original LECHUZA irrigation system.
Repotting
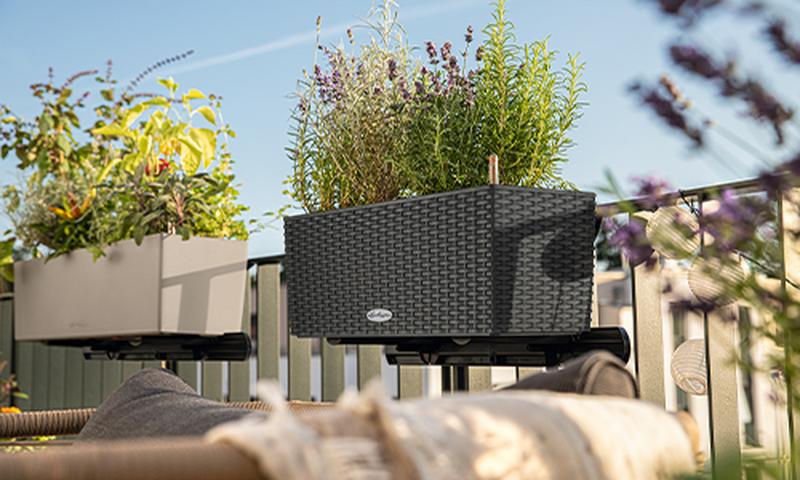
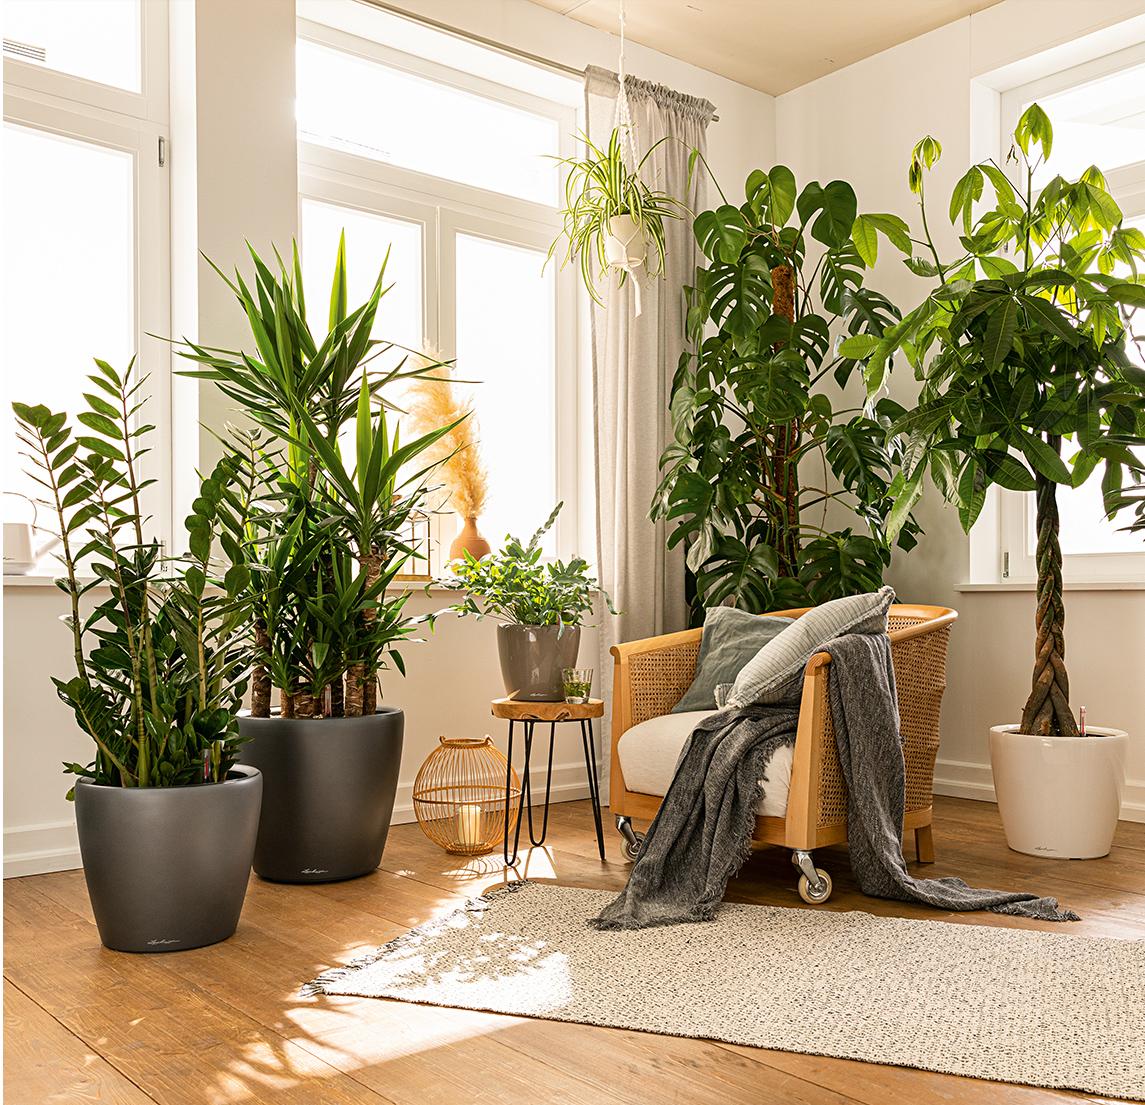
The right planter for every size
LECHUZA has the right planter for every size - so you can easily move your plants!
To do this, remove them from the planter. When the roots have grown through the separator, carefully pull it out. If necessary, trim the ends of the roots below the separator bottom with a pruning cut. This rejuvenation treatment for your plant will stimulate root growth. When your plant has completely enclosed the separator with its roots, remove the entire root ball, including the separator, from the planter and repot it into a larger planter.